Setting Up an Android Pentest Lab
Introduction
Hey, how's it going? My name is Luca Regne, and in this article I’ll describe how I set up an environment for Android application pentesting.
There are many tools and methodologies for this, so I want to make it clear that these steps are based on my personal preferences, not on a single “best” setup. Read other sources, test different options, and keep adjusting things until you find the workflow that fits you best.
Genymotion
To run the application, we need an Android system. One way to do that is by virtualizing a smartphone with Genymotion. The official documentation below covers the first steps, installation, prerequisites, and initial configuration.
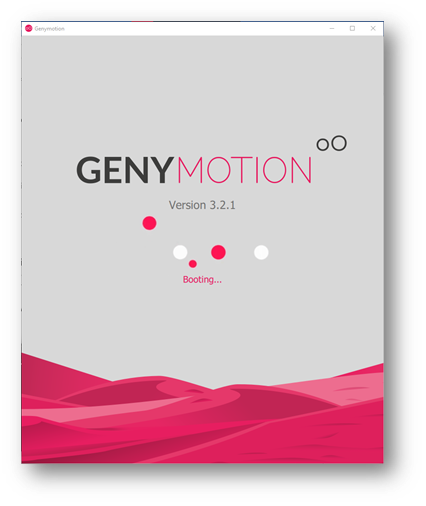
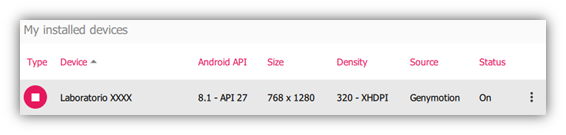
After installing Genymotion with VirtualBox, if everything works correctly, you should see a screen like this:
Another common option is using Android Studio AVDs, or Android Virtual Devices. However, these devices do not come with the su binary, so they do not allow you to run the system as root without extra configuration.
If you prefer using a physical device, I recommend scrcpy, from Genymobile. It lets you mirror your phone screen to your computer and interact with the device much more comfortably.
Adding utilities to environment variables
To interact with the virtualized environment from the host machine, we use the Android Debug Bridge command-line utility, better known as adb. It is already included by default in Genymotion’s tool folders.
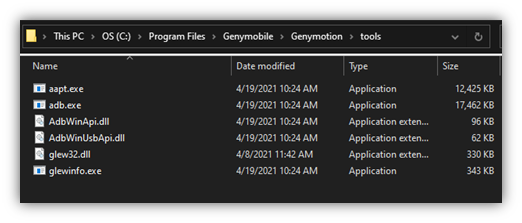
By adding this folder to your PATH, you can run the command-line tool as a native command. On Windows, you can do this with PowerShell:
$env:Path += $env:Path + ";C:\Program Files\Genymobile\Genymotion\tools"
On bash, depending on whether Genymotion was installed in your home directory or under /opt, the command would look like this:
export PATH=$PATH:$HOME/genymotion/tools
# or
export PATH=$PATH:/opt/genymotion/tools
Android setup
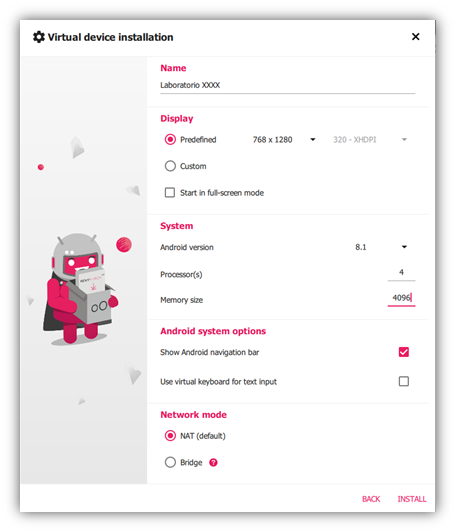
The following screenshots document the step-by-step setup for the virtual Android device. In this installation I use a custom Android image, but you can also use a device model as a template if needed.
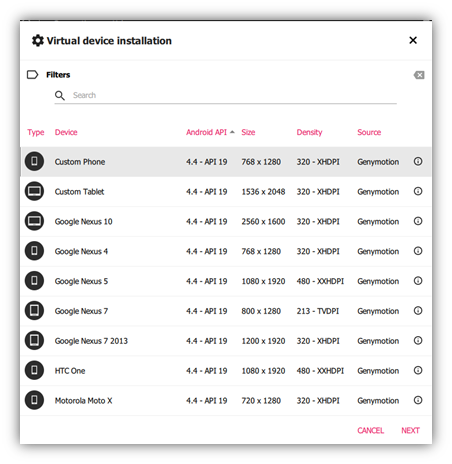
I recommend using at least Android Oreo (8.1) to avoid application compatibility issues, and at least 2 GB of RAM, or 2048 MB, to reduce freezes and slowness.
Adding the Play Store
Once the device is running, we need to add the app store so applications can be downloaded directly from Google Play. To do that, click Open GAPPS in the side menu.
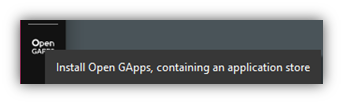
After the installation and device restart, the Play Store application should appear.
Proxy - Burp Suite
To intercept requests made by the application, we need a proxy. For that, we can use the well-known Burp Suite.
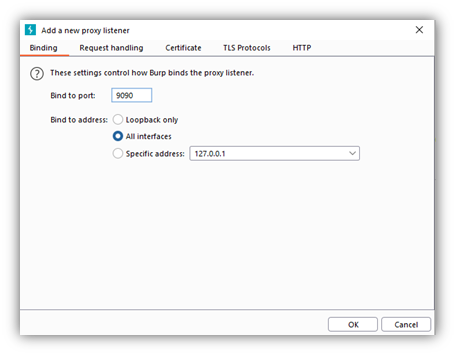
After installing the proxy, we need to add the interface used by the virtualized environment.
Go to Proxy -> Options -> Proxy Listeners, click Add, and configure it to listen on all interfaces using a port of your choice, as shown below.
Python and Frida
The next tool we’ll install is Frida, which is used for application instrumentation. We can use it to bypass SSL pinning, anti-root checks, anti-emulator checks, and other protections. There is more than one way to install the command-line utility, but in this guide I’ll show the download using pip, the Python package manager.
# frida-tools (frida, frida-trace, frida-apk, frida-create, frida-discover, frida-join, etc.)
pip install frida-tools

# Frida only, useful when you want to install a specific version in a separate environment
pip3 install frida==14.1.0
Reverse engineering tools
Reverse engineering is the process of taking an APK and recovering source code that is similar, or sometimes very close, to the original. There are several tools that can help with this process.
- ApkTool: the classic option.
- Bytecode Viewer: besides the graphical interface, it bundles several decompilers and lets you compare code extracted by different tools.
- JD-GUI: Java decompiler.
- ILSpy: strong tool for reverse engineering .NET applications.
- dnSpy: also used for .NET reverse engineering, although the project appears to have been discontinued.
- dotPeek: JetBrains .NET decompiler.
Personally, I like MobSF because it offers many features beyond reverse engineering. Its installation is straightforward and can be done on PowerShell or Linux. Check the requirements first:
git clone https://github.com/MobSF/Mobile-Security-Framework-MobSF
cd Mobile-Security-Framework-MobSF

# Windows
./setup.bat

# Linux
./setup.sh
This is the kind of tool where simply running it is not enough. If you want to use it properly and extract everything it can provide, read the documentation.
Conclusion
This is basically the step-by-step process I use to set up a basic Android pentest environment. Set up yours as well, because in future articles I’ll bring more specific content, such as reversing apps built with particular technologies or bypassing SSL pinning cases that are not solved with Frida alone. And remember: Hack the planet!